Easy Stained Glass Cookies
Uitgelicht onder: Zelfgebakken favorieten
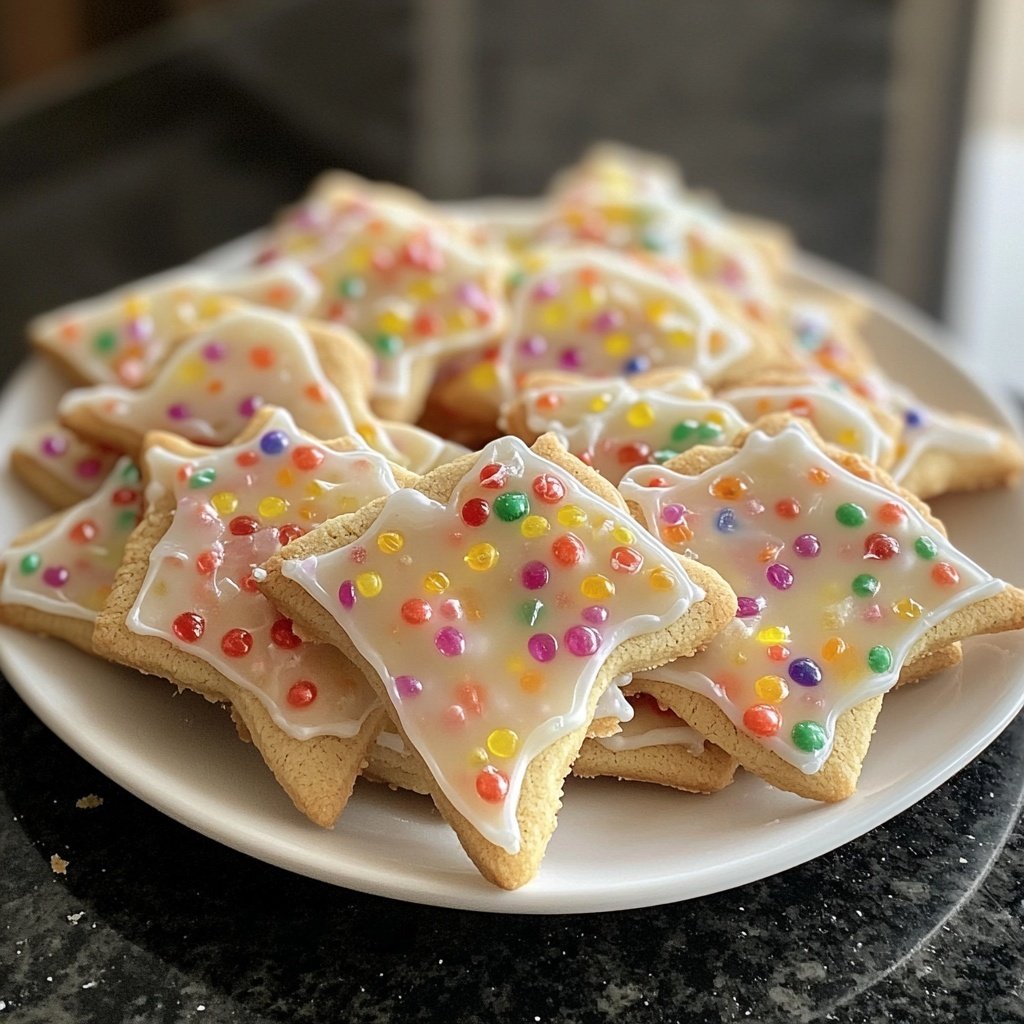
These Easy Stained Glass Cookies are a fun and colorful treat that kids and adults alike will love to make and eat.
Stained glass cookies are a delightful holiday treat that adds a splash of color to your dessert table. These cookies are not only beautiful but also simple to make, making them a perfect baking activity for families.
Why You'll Love These Cookies
- Vibrant colors that brighten up any occasion
- Crispy edges with a soft center
- Fun to make with family or friends
The Perfect Holiday Treat
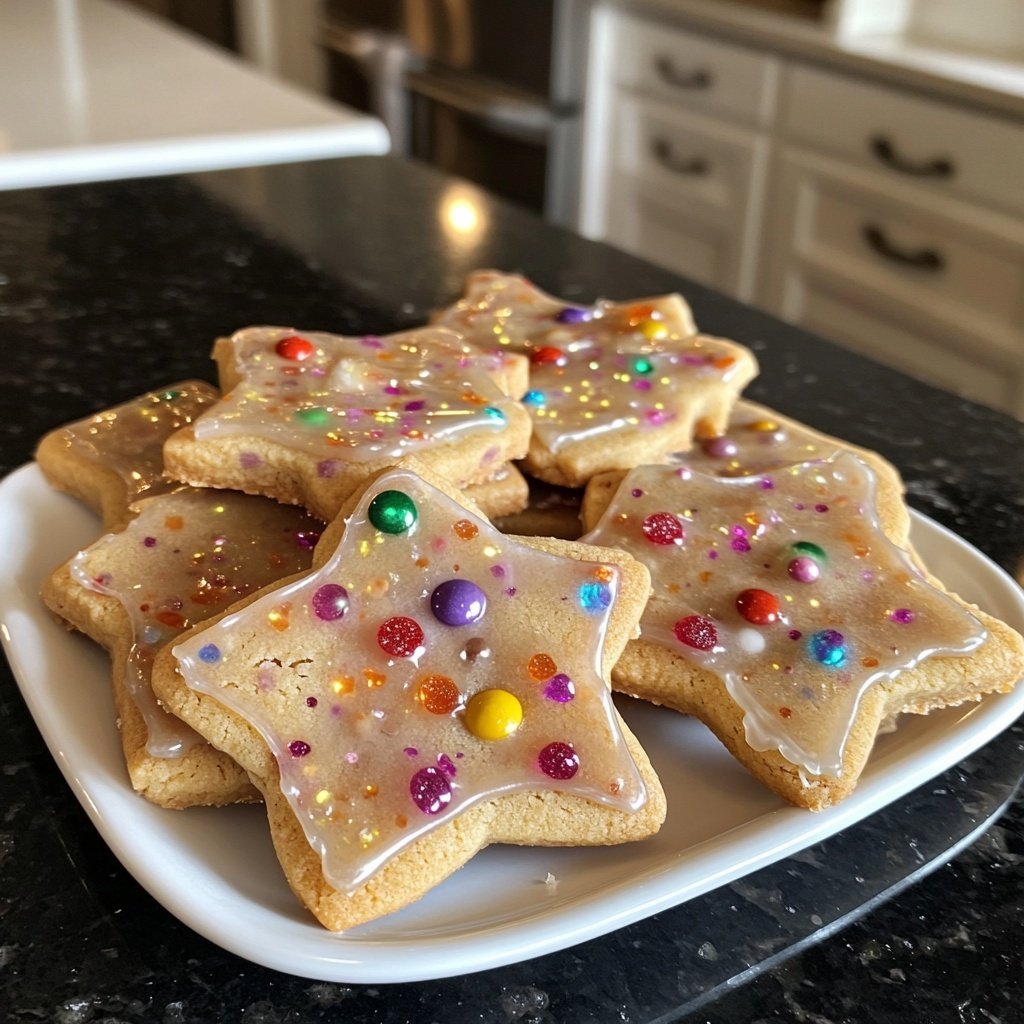
These Easy Stained Glass Cookies are not just a delightful dessert; they are a perfect addition to any holiday celebration. Their vibrant colors and unique designs will capture the attention of guests, making them an attractive centerpiece on any dessert table. Whether you are hosting a Christmas gathering or a birthday party, these cookies will bring joy and excitement.
The fun of these cookies extends beyond their appearance. Making stained glass cookies can be a wonderful bonding activity with family and friends. Gather your loved ones, roll out the dough, and watch as everyone gets creative with their cookie shapes and colors. It’s an experience that will create lasting memories.
Customizable and Versatile
One of the best aspects of Easy Stained Glass Cookies is their versatility. You can customize them for various occasions by simply changing the shapes and colors of the candies used. For Halloween, use orange and black candies; for Easter, opt for pastel shades. The possibilities are endless, allowing you to tailor these cookies to suit any theme or celebration.
Additionally, the base dough is compatible with different flavors. While this recipe uses vanilla and almond extracts, feel free to experiment with other flavors like lemon or hazelnut. This adaptability means you can enjoy a unique twist on the classic cookie each time you bake.
Ingrediënten
Gather these ingredients to make your Easy Stained Glass Cookies:
Cookie Base
- 2 3/4 cups all-purpose flour
- 1 teaspoon baking powder
- 1/2 teaspoon salt
- 1 cup unsalted butter, softened
- 1 1/2 cups granulated sugar
- 1 egg
- 1 teaspoon vanilla extract
- 1 teaspoon almond extract
Candy Fillings
- 1 cup assorted hard candies (like Jolly Ranchers or Life Savers)
Make sure to have everything ready before you start baking!
Bereidingswijze
Follow these steps to create your beautiful stained glass cookies:
Prepare the Dough
In a bowl, whisk together flour, baking powder, and salt. In another bowl, cream together butter and sugar until light and fluffy. Beat in the egg and extracts. Gradually mix in the dry ingredients until combined.
Chill the Dough
Wrap the dough in plastic wrap and refrigerate for at least 1 hour. This helps the cookies hold their shape.
Cut and Fill
Preheat your oven to 350°F (175°C). Roll out the chilled dough on a floured surface to about 1/4 inch thick. Cut out shapes using cookie cutters. Use a smaller cutter to cut out the center of each cookie. Place the cookies on a baking sheet and fill the center with crushed hard candies.
Bake and Cool
Bake for 8-10 minutes or until the edges are lightly golden. Allow to cool on the baking sheet for a few minutes before transferring to a wire rack to cool completely.
Enjoy your colorful creations!
Professionele Tips
For best results, use a variety of colored candies to create a more vibrant stained glass effect.
Tips for Perfect Cookies
To ensure your stained glass cookies turn out perfectly, it’s essential to follow the chilling step closely. Chilling the dough not only enhances the flavors but also prevents the cookies from spreading too much during baking. This helps maintain their shape, ensuring that the beautiful designs you cut out are preserved.
Another helpful tip is to crush the hard candies into small pieces before filling the cookie centers. The smaller the pieces, the better they will melt and fill the shapes in the cookies. Use a zip-top bag and a rolling pin for easy crushing, and be sure to mix colors for a more vibrant effect.
Storing Your Cookies
Once baked, allow your stained glass cookies to cool completely before storing them. To keep them fresh, place them in an airtight container at room temperature. They can last for up to a week, making them a great option for pre-baking for events or gatherings.
If you want to store them for a longer period, consider freezing the cookies. Place them in a single layer in a freezer-safe container, separating layers with parchment paper. They can be kept frozen for up to three months, allowing you to enjoy homemade cookies anytime you crave a sweet treat.
Vragen Over Recepten
→ Can I use different flavors of extracts?
Yes, you can experiment with different extracts like lemon or coconut for unique flavors.
→ How should I store these cookies?
Store them in an airtight container at room temperature for up to one week.
→ Can I freeze the cookie dough?
Absolutely! You can freeze the dough for up to three months. Just thaw it in the refrigerator before rolling it out.
→ What types of candies can I use?
Hard candies like Jolly Ranchers or Life Savers work best, but you can also try other types as long as they melt well.
Easy Stained Glass Cookies
Gemaakt door: June Weatherby
Recepttype: Zelfgebakken favorieten
Vaardigheidsniveau: Easy
Eindportie: 24 cookies
Wat je Nodig Hebt
Cookie Base
- 2 3/4 cups all-purpose flour
- 1 teaspoon baking powder
- 1/2 teaspoon salt
- 1 cup unsalted butter, softened
- 1 1/2 cups granulated sugar
- 1 egg
- 1 teaspoon vanilla extract
- 1 teaspoon almond extract
Candy Fillings
- 1 cup assorted hard candies (like Jolly Ranchers or Life Savers)
Stappen
In a bowl, whisk together flour, baking powder, and salt. In another bowl, cream together butter and sugar until light and fluffy. Beat in the egg and extracts. Gradually mix in the dry ingredients until combined.
Wrap the dough in plastic wrap and refrigerate for at least 1 hour. This helps the cookies hold their shape.
Preheat your oven to 350°F (175°C). Roll out the chilled dough on a floured surface to about 1/4 inch thick. Cut out shapes using cookie cutters. Use a smaller cutter to cut out the center of each cookie. Place the cookies on a baking sheet and fill the center with crushed hard candies.
Bake for 8-10 minutes or until the edges are lightly golden. Allow to cool on the baking sheet for a few minutes before transferring to a wire rack to cool completely.
Extra Tips
For best results, use a variety of colored candies to create a more vibrant stained glass effect.
Voedingswaarde (Per Portie)
- Calories: 150 kcal
- Total Fat: 7g
- Saturated Fat: 4g
- Cholesterol: 20mg
- Sodium: 50mg
- Total Carbohydrates: 22g
- Dietary Fiber: 0g
- Sugars: 10g
- Protein: 1g