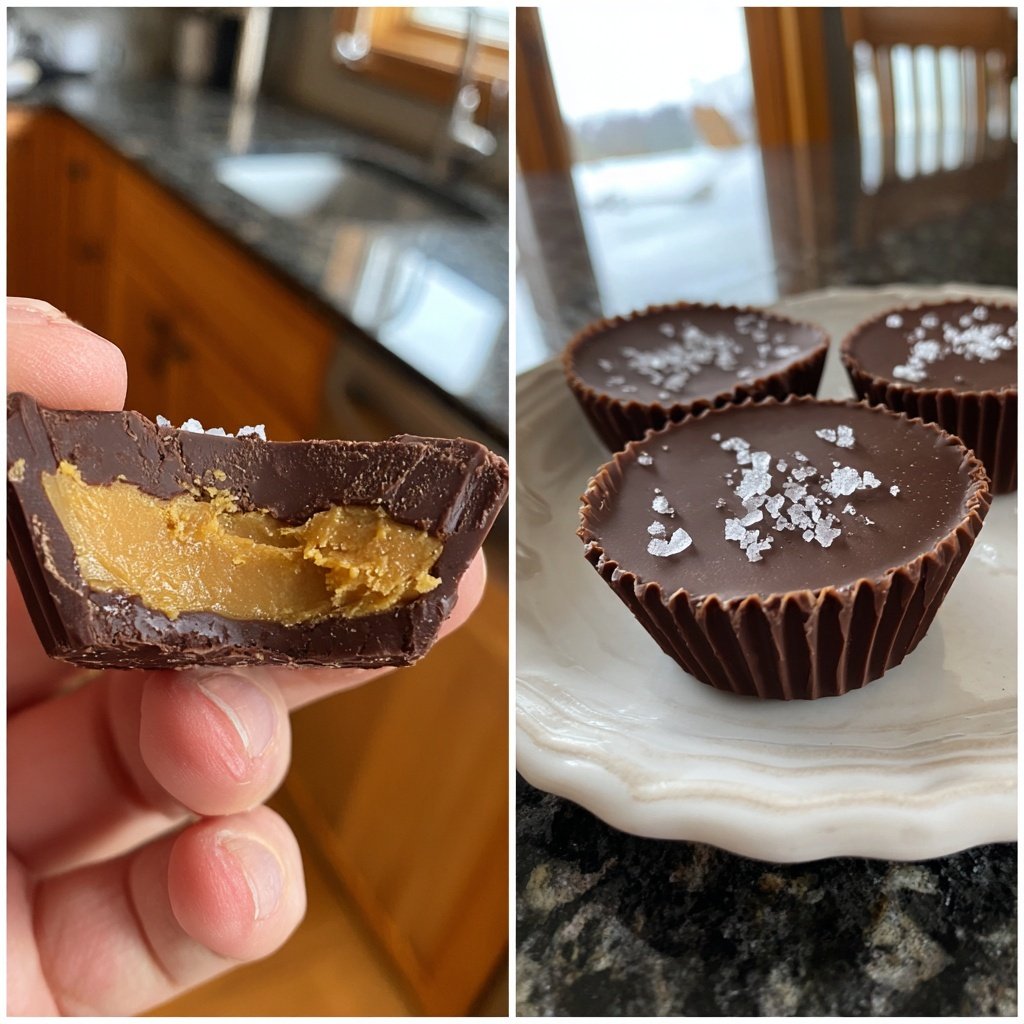
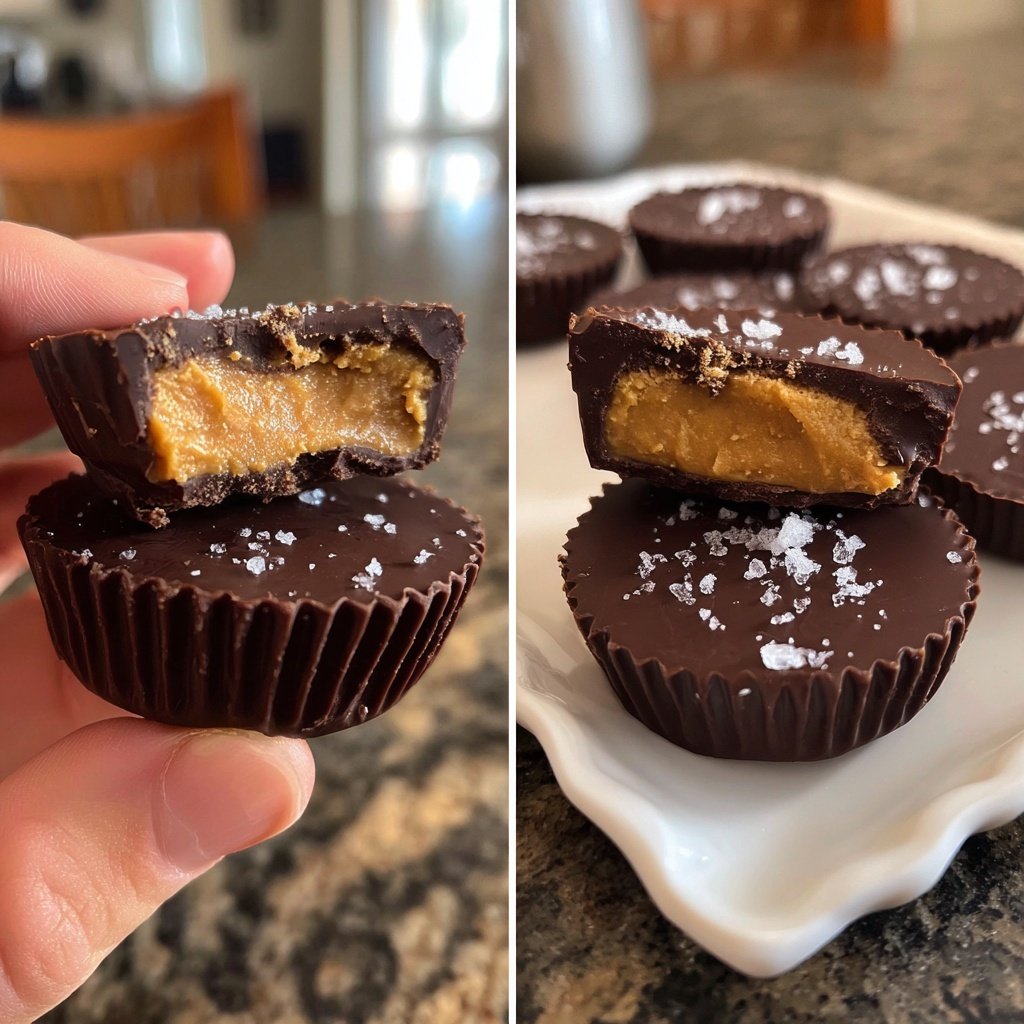
Homemade Reese’s Cups with Sea Salt
Uitgelicht onder: Zelfgebakken favorieten
I absolutely love making these Homemade Reese’s Cups with Sea Salt. The combination of creamy peanut butter and rich chocolate creates a mouthwatering treat that has become a favorite in my household. With just a few simple ingredients, I can whip up a batch and enjoy them throughout the week. The addition of sea salt gives these cups an irresistible flavor boost that keeps them from being overly sweet. Trust me, once you try these, you'll never want to go back to store-bought versions!
Making homemade treats taps into a nostalgic love for my favorite candy, and with these Reese’s Cups, I’ve hit the jackpot. I experimented with different chocolate brands and discovered that using high-quality chocolate chips enhances the overall flavor profile immensely. The chocolate should be melted just enough for it to coat the peanut butter perfectly, creating a smooth layer on each cup.
A crucial tip I learned is to let the chocolate shells set fully before adding the peanut butter filling. If you pour the filling into warm chocolate, it can create a messy mixture. Allowing the shells to cool solidifies them, giving the perfect bite each time. These little cups have become a regular indulgence in our home!
Why You'll Love This Recipe
- Rich chocolate flavor paired with crunchy sea salt
- Creamy peanut butter filling that satisfies any sweet tooth
- Easy to make and perfect for sharing with friends and family
The Art of Melting Chocolate
Melting chocolate can be tricky, but with a few simple techniques, you can achieve the perfect consistency for your Reese’s Cups. When using the microwave, heat your chocolate chips in small increments—30 seconds at a time—stirring well between intervals. This not only prevents scorching but ensures a silky, smooth finish. If you prefer using a double boiler, place the chocolate in a bowl over simmering water, stirring gently until melted and glossy.
Another way to enhance your melted chocolate is to temper it, which gives the final product a professional sheen and a satisfying snap when bitten into. Tempering involves melting the chocolate to a specific temperature, then cooling it slightly before re-warming. This process helps stabilize the cocoa butter, resulting in a more luxurious texture that will impress anyone who tries your homemade treats.
Elevating the Peanut Butter Filling
The beauty of the peanut butter filling lies in its creamy texture and delightful sweetness, which is perfectly balanced by the addition of sea salt. Using creamy peanut butter ensures a smooth filling, but for those who enjoy a bit of crunch, you can substitute with crunchy peanut butter for added texture. When mixing in the powdered sugar, make sure to do so gradually to avoid lumps, achieving a silky mixture that is easy to scoop.
If you're looking to add an extra layer of flavor to your filling, consider incorporating a dash of cinnamon or a splash of maple syrup. These subtle additions can enhance the overall taste without overpowering the classic flavor profile. My kids love it when I include mini chocolate chips for added sweetness and texture, so don't hesitate to experiment based on your preferences.
Ingrediënten
Gather the following ingredients to create these delightful treats:
Ingredients
- 1 cup creamy peanut butter
- 1 cup powdered sugar
- 2 cups milk chocolate chips
- 1 teaspoon vanilla extract
- 1/4 teaspoon sea salt
- Additional sea salt for topping
Once you have everything ready, you're all set to start creating your cups!
Bereidingswijze
Let's dive into the steps for making these delicious cups:
Prepare the Chocolate Cups
In a microwave-safe bowl, melt the milk chocolate chips in 30-second intervals, stirring in between until smooth. Line a muffin tin with cupcake liners. Using a spoon, scoop a small amount of melted chocolate into each liner, spreading it to form a thin base. Place in the freezer for 10 minutes to set.
Make the Peanut Butter Filling
In another bowl, mix the creamy peanut butter, powdered sugar, vanilla extract, and sea salt until well combined. Once the chocolate bases are set, remove them from the freezer.
Assemble the Cups
Spoon a generous amount of the peanut butter mixture into each chocolate base, smoothing the top. Pour additional melted chocolate over the filling to cover it completely. Sprinkle a pinch of sea salt on top of each cup and place back in the freezer for another 10 minutes to harden.
Serve and Enjoy
After the cups have fully set, remove them from the freezer, peel off the liners, and indulge in your homemade Reese’s Cups!
Once you’ve made them, store any extras in an airtight container in the refrigerator!
Professionele Tips
- For an extra kick, try adding a dash of cinnamon to the peanut butter filling for a unique flavor twist.
Storage Tips
Once your Homemade Reese’s Cups are set and ready to indulge, proper storage is crucial for maintaining their freshness. Store them in an airtight container at room temperature for up to a week, but if you want them to last longer, consider refrigerating them. The cold can slightly alter the texture, but they will retain their flavor for up to two weeks.
For ultimate longevity, you can also freeze your cups. Just place them in a single layer on a baking sheet until frozen solid, then transfer them to a freezer-safe bag. This way, they can be stored for up to three months. Be sure to wrap them individually in parchment paper or wax paper to prevent sticking, making it easier to grab a treat whenever cravings hit!
Variations and Customizations
This recipe is wonderfully adaptable to cater to various taste preferences. For a fun twist, try swapping out the milk chocolate for dark chocolate or even white chocolate for a different flavor profile. Each type of chocolate provides a unique contrast to the peanut butter, allowing for personal customization to suit individual tastes.
If you're exploring dietary options, consider using almond butter or sunflower seed butter as substitutes for peanut butter. These alternatives offer a similar creaminess while accommodating nut-free diets. For a slightly healthier option, you can replace some of the powdered sugar with natural sweeteners like honey or agave syrup, adjusting to taste as you go.
Vragen Over Recepten
→ Can I use dark chocolate instead of milk chocolate?
Absolutely! Dark chocolate adds a richer taste and pairs well with the sweetness of the peanut butter.
→ How long do these cups last?
Stored in an airtight container in the refrigerator, they can last for up to a week.
→ Is there a vegan option for this recipe?
Yes, you can use vegan chocolate chips and natural peanut butter to make it vegan-friendly.
→ Can I add other ingredients to the filling?
Certainly! Feel free to mix in crushed pretzels, mini chocolate chips, or even a hint of coconut for a different flavor.
Homemade Reese’s Cups with Sea Salt
Gemaakt door: June Weatherby
Recepttype: Zelfgebakken favorieten
Vaardigheidsniveau: Intermediate
Eindportie: 12 cups
Wat je Nodig Hebt
Ingredients
- 1 cup creamy peanut butter
- 1 cup powdered sugar
- 2 cups milk chocolate chips
- 1 teaspoon vanilla extract
- 1/4 teaspoon sea salt
- Additional sea salt for topping
Stappen
In a microwave-safe bowl, melt the milk chocolate chips in 30-second intervals, stirring in between until smooth. Line a muffin tin with cupcake liners. Using a spoon, scoop a small amount of melted chocolate into each liner, spreading it to form a thin base. Place in the freezer for 10 minutes to set.
In another bowl, mix the creamy peanut butter, powdered sugar, vanilla extract, and sea salt until well combined. Once the chocolate bases are set, remove them from the freezer.
Spoon a generous amount of the peanut butter mixture into each chocolate base, smoothing the top. Pour additional melted chocolate over the filling to cover it completely. Sprinkle a pinch of sea salt on top of each cup and place back in the freezer for another 10 minutes to harden.
After the cups have fully set, remove them from the freezer, peel off the liners, and indulge in your homemade Reese’s Cups!
Extra Tips
- For an extra kick, try adding a dash of cinnamon to the peanut butter filling for a unique flavor twist.
Voedingswaarde (Per Portie)
- Calories: 180 kcal
- Total Fat: 12g
- Saturated Fat: 5g
- Cholesterol: 2mg
- Sodium: 80mg
- Total Carbohydrates: 15g
- Dietary Fiber: 1g
- Sugars: 10g
- Protein: 4g